- Languages
- English
- Popular FAQ
-
Antbuddy Privacy / Date: 17/07/2017 3:12PM View count: 121324
-
Hướng dẫn cài đặt và sử dụng Zoiper trên iOS và Android / Date: 28/12/2018 4:28PM View count: 16072
-
Hướng dẫn cài đặt và sử dụng Grandstream wave trên iOS và Android (Antbuddy) / Date: 28/12/2018 4:26PM View count: 12212
-
Ticket là gì ? Sử dụng như thế nào? / Date: 08/09/2020 9:46AM View count: 10935
-
Hướng dẫn sử dụng chiến dịch BeeIQ Telesales (dành cho quản trị viên) / Date: 08/09/2017 10:24AM View count: 7692
-
Các thao tác chính trong BeeIQ CRM / Date: 08/09/2017 10:36AM View count: 7021
-
Hướng dẫn sử dụng Hệ thống Ticketing trên BeeIQ CRM / Date: 08/09/2017 10:37AM View count: 6928
-
Hướng dẫn sử dụng Kite Chat (dành cho quản trị viên) / Date: 11/07/2017 7:37PM View count: 6283
-
Hướng dẫn cấu hình Email Forwarding BeeIQ CRM / Date: 08/09/2017 10:37AM View count: 6274
-
Video hướng dẫn cài đặt và sử dụng Tổng đài Cloud AntBuddy / Date: 13/09/2017 3:39PM View count: 6220
Instruction to setup Whatsapp campaign

WHATSAPP INSTRUCTION DOCUMENT
A. Setup Facebook App for Integrate Whatsapp 3
B. Integrate WhatsApp into AntCRM 5
C, Add-in other Phone Number Whatsapp Business 14
D, Create Whatsapp Template 14
E, Send Template in AntCRM platform 18
F, Sending Whatsapp SMS campaign 21
Setup Facebook App for Integrate Whatsapp
Step 1: Go to Facebook Developer page at link: https://developers.facebook.com/ and choose “My Apps”

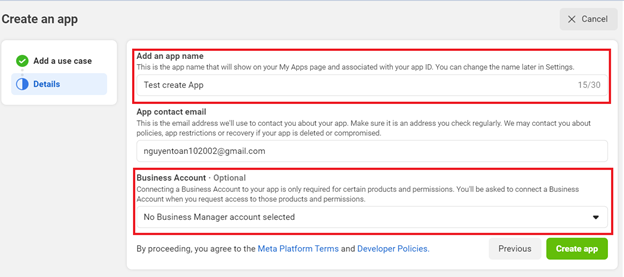
And then choose “Create App” => Choose “Allow people to log in with their Facebook account”

Fill in all information when creating App:
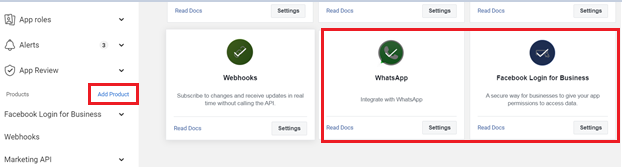
Step 2: Choose “Add Product” and then add “Whatsapp” and “Facebook login for Business”
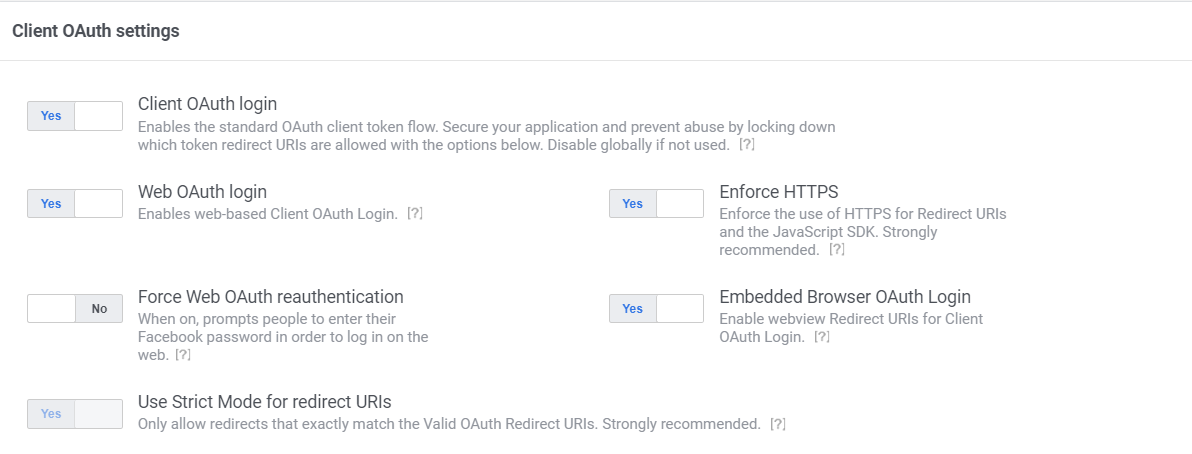
Step 3: Configure for “Facebook login for Business”
Choose Settings in Facebook Login for Business
Then choose “YES”, “NO” as the image below:
Configure “Valid OAuth Redirect URIS”: “https://beeiq.co/oauth2/redirect.html”
Configure “Allowed Domains for the JavaScript SDK”: https://beeiq.co/
Step 4: Add phone number to integrate whatsapp
Go to Whatsapp -> API Setup -> “Add phone number”

Then fill in the necessary information in the form “Add phone number”
Step 5: Setting webhook to receive message:
Go to Whatsapp -> Configuration -> Edit
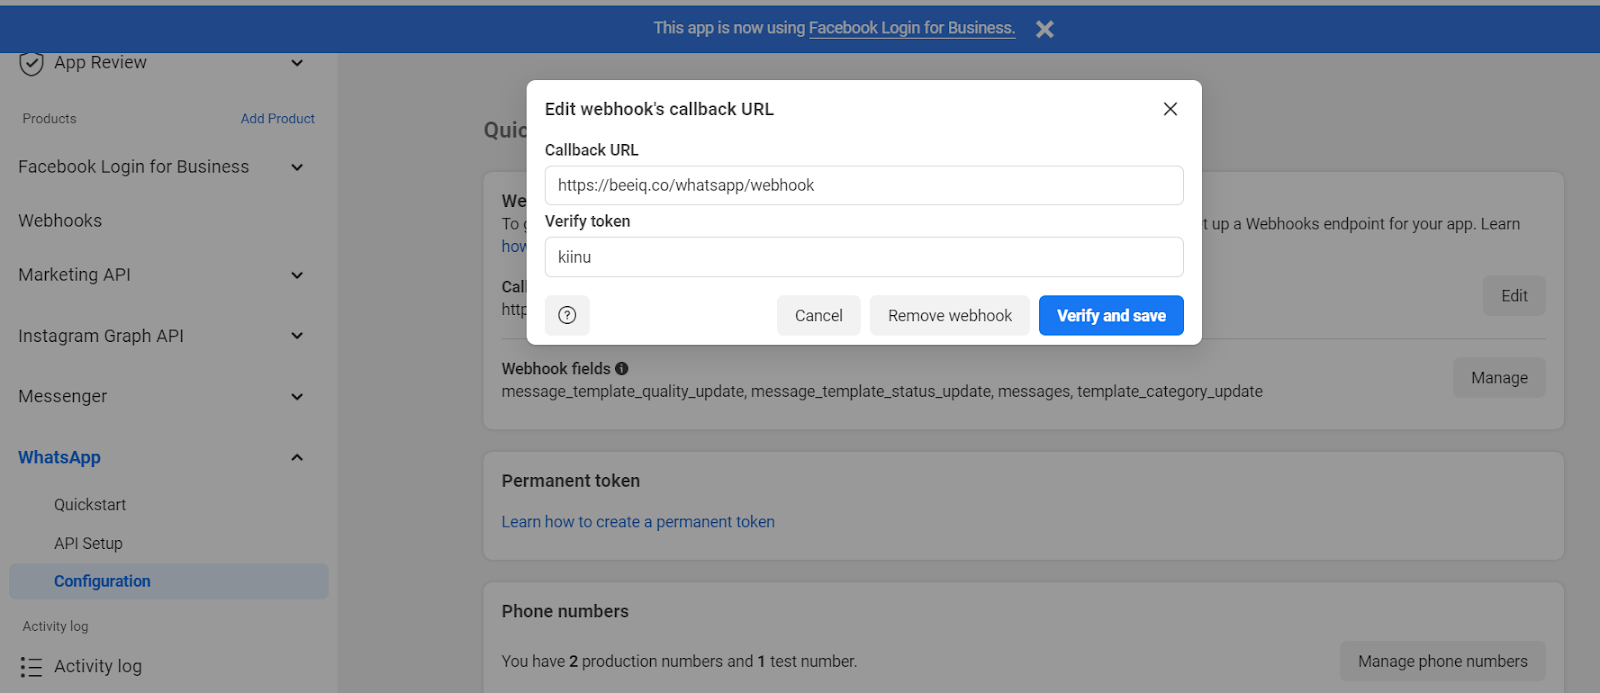
Callback URL: https://beeiq.co/whatsapp/webhook
Verify token: kiinu
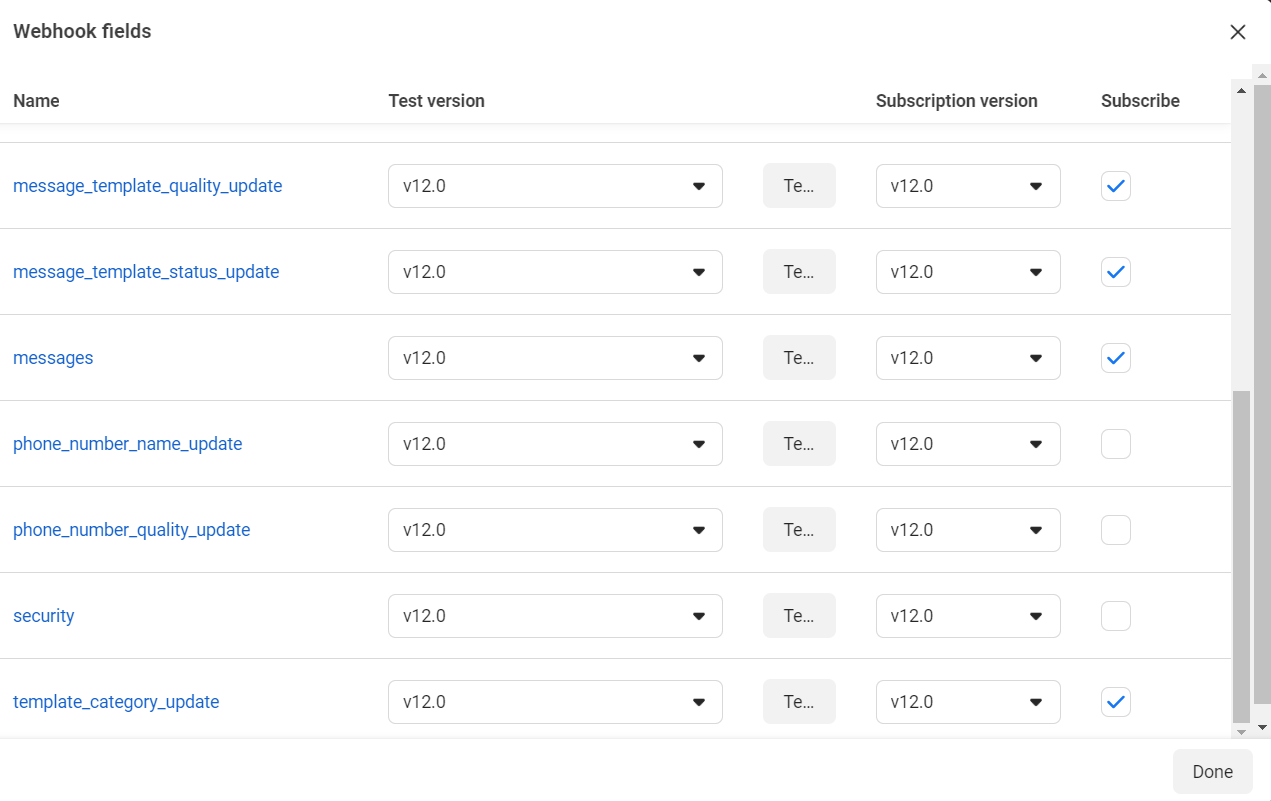
Choose Manage to subscribe the webhook fields
Integrate WhatsApp into AntCRM
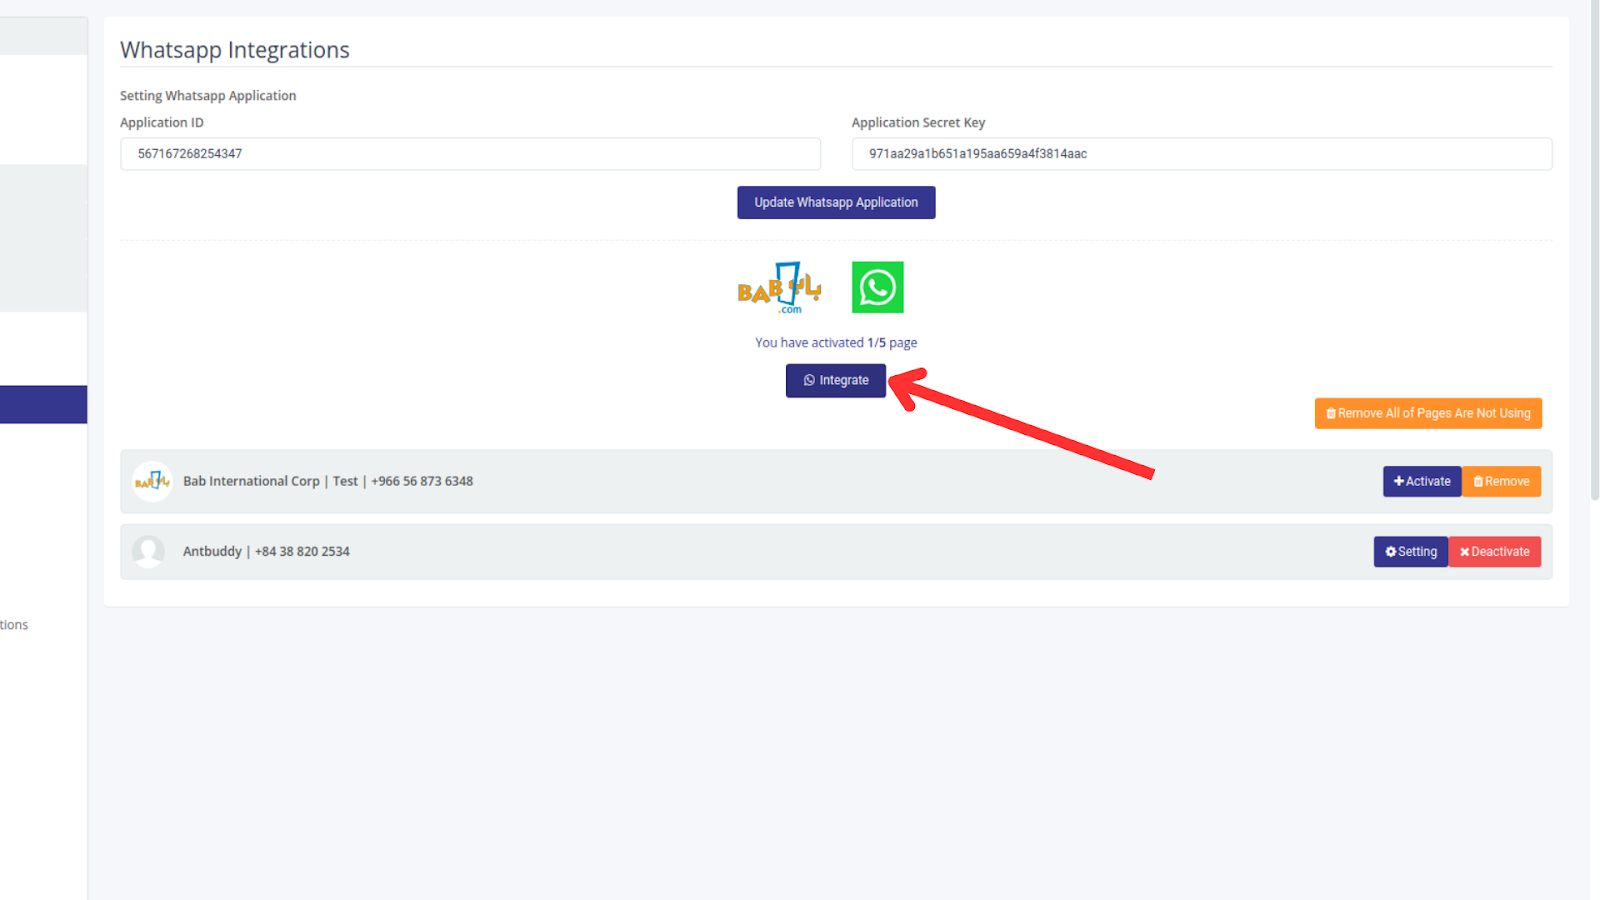
Step 1: Enter Settings -> Omni chat -> Whatsapp Integrations
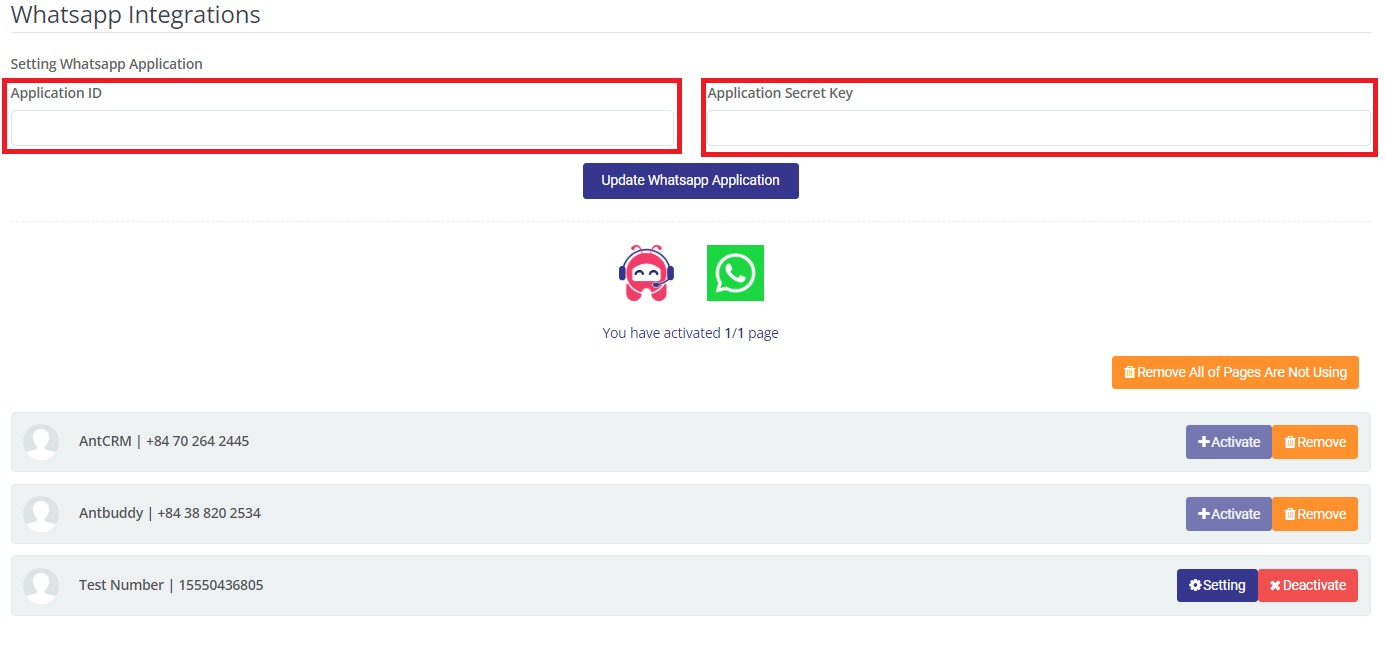
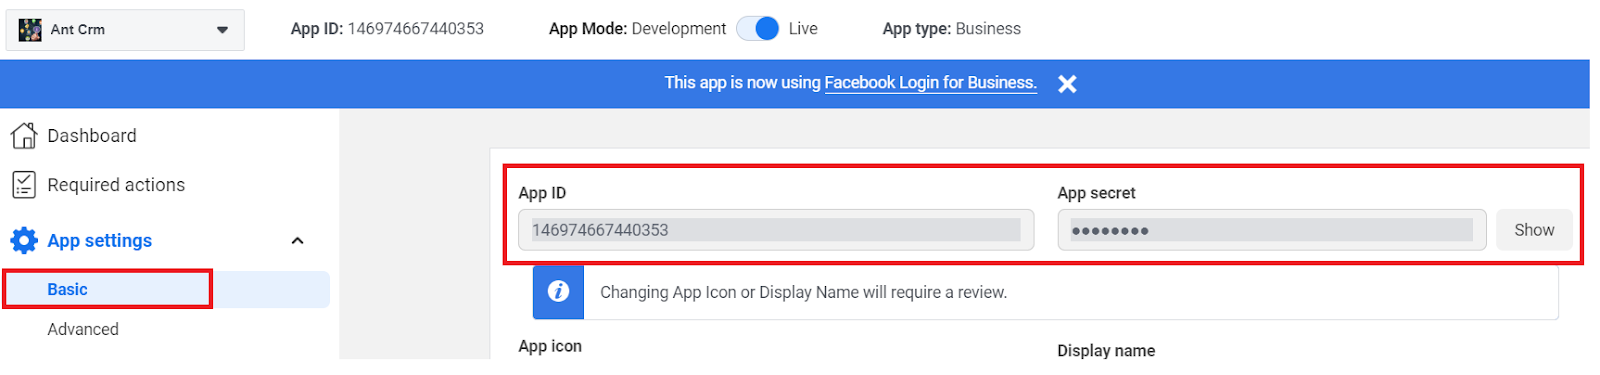
Get Application ID and Application Secret Key by going to:
Facebook developer => Select App => App Settings => Basic
Step 2: Choose
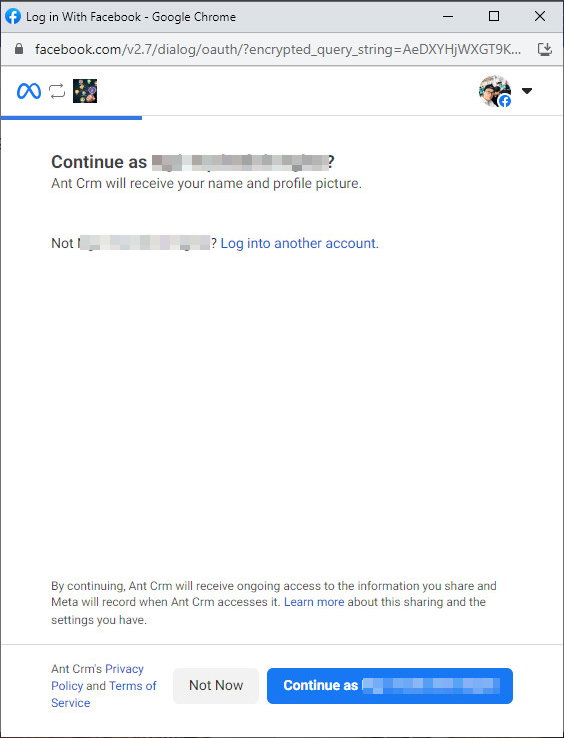
Step 3: At the verification popup, choose if your Facebook account is an administrator of a fanpage connected to WhatsApp.
If not, you log in to the administrator account by clicking on the link Login to other account
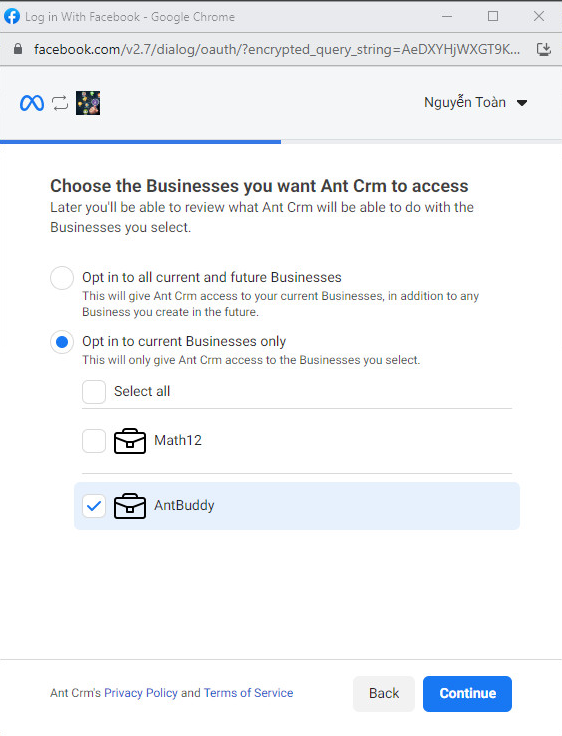
Step 4: Choose the business that you want to allow AntCRM to access, then choose
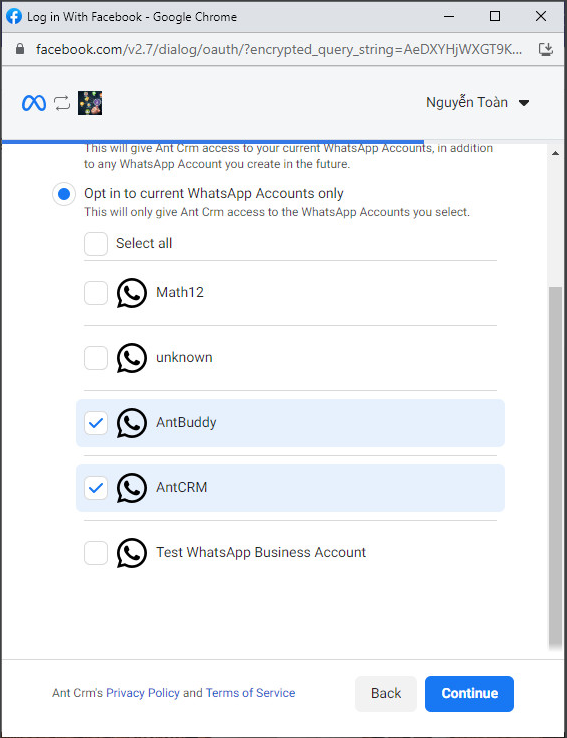
Step 5: Choose the WhatsApp account that you want to integrate into the system, then press
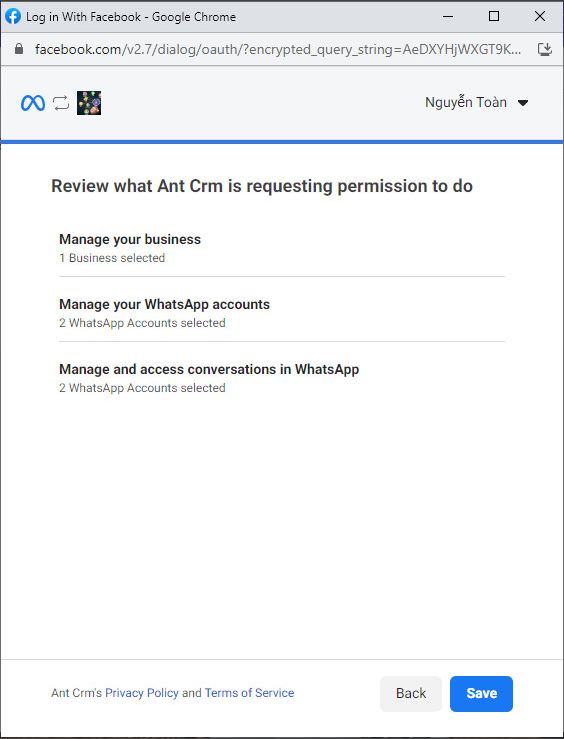
Step 6: Choose Save
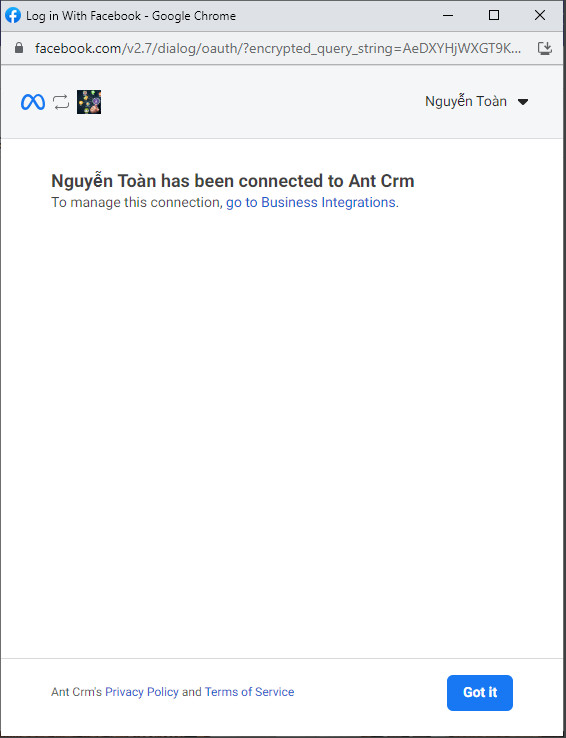
Step 7: Choose Got it
Step 8: Choose a desired phone number and press
Step 9: Choose the receiving method Verify code
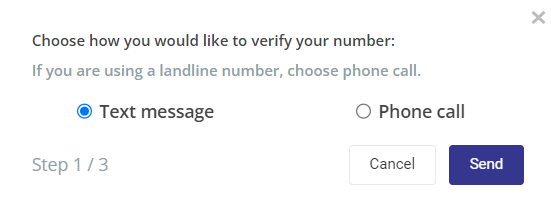
After pressing “Send” button, Whatsapp will send a 6-digit verification code
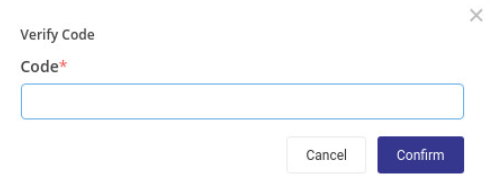
Press “Confirm” to go to the next step.
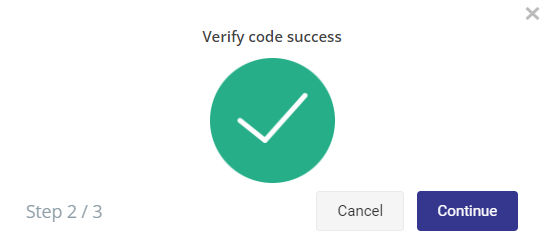
If you have previously verified, the system will display "Verify code success" notification as the image below:
Step 10: Enter Two-step verification code

If you do not know the two-step verification code, please follow the instructions below to turn off Two-step verification: “Reset two-step verification”
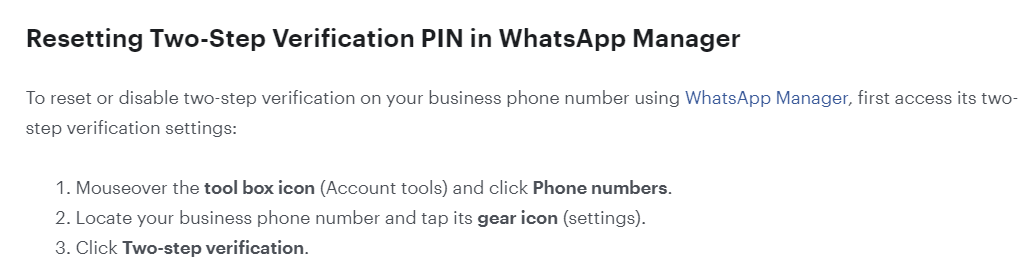
After turning off “Two-step verification” , enter the new 6-digit code on the CRM website
Now, Users can use Whatsapp on AntCRM.
Notes: In case, your account has an issue or expires, you have to get back to step 1 above which supports you in reintegrating your WhatsApp Business Account with AntCRM.
C, Add-in other Phone Number Whatsapp Business
Do the same as part A to integrate another WA account.
D, Create Whatsapp Template
Step 1: Pressing: Setting -> Template -> Whatsapp Template to manage Whatsapp template
Press “Sync” to synchronize existing whatsapp templates about AntCRM
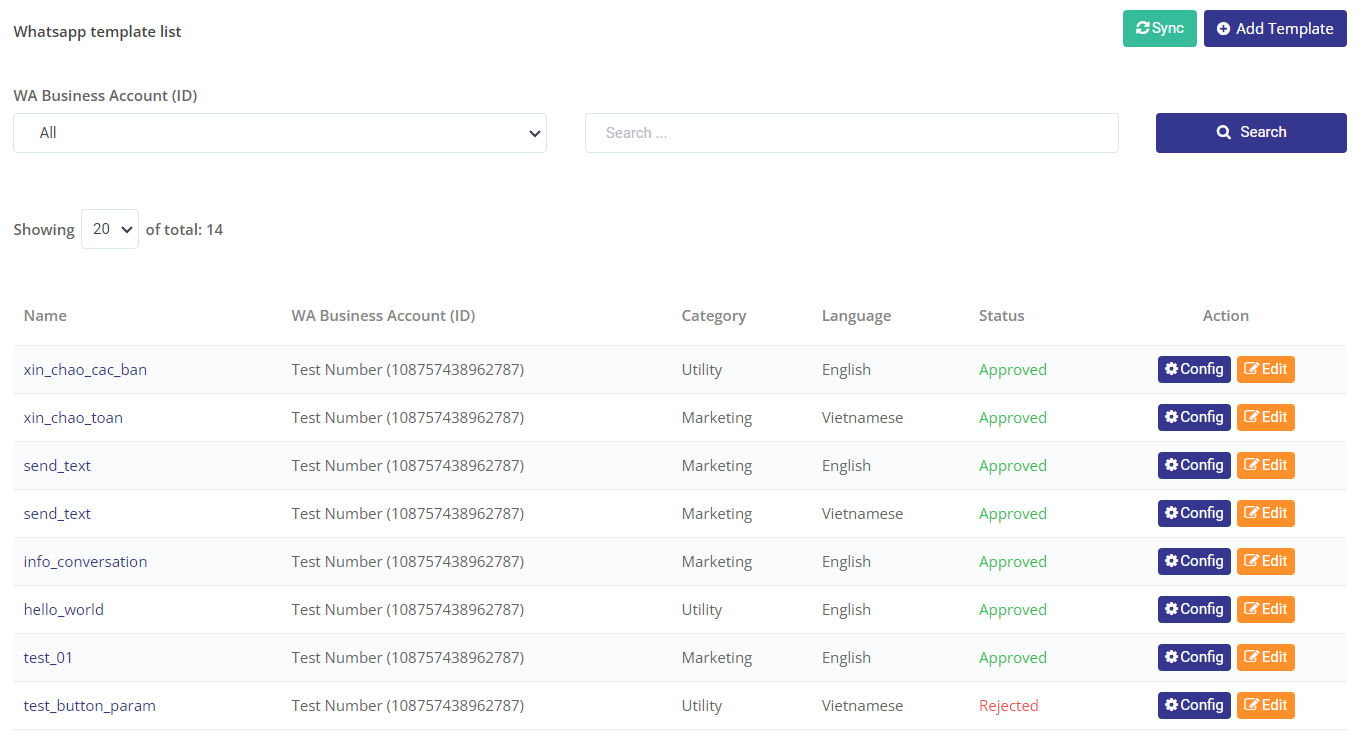
Step 2: To create a template, press “Add Template”
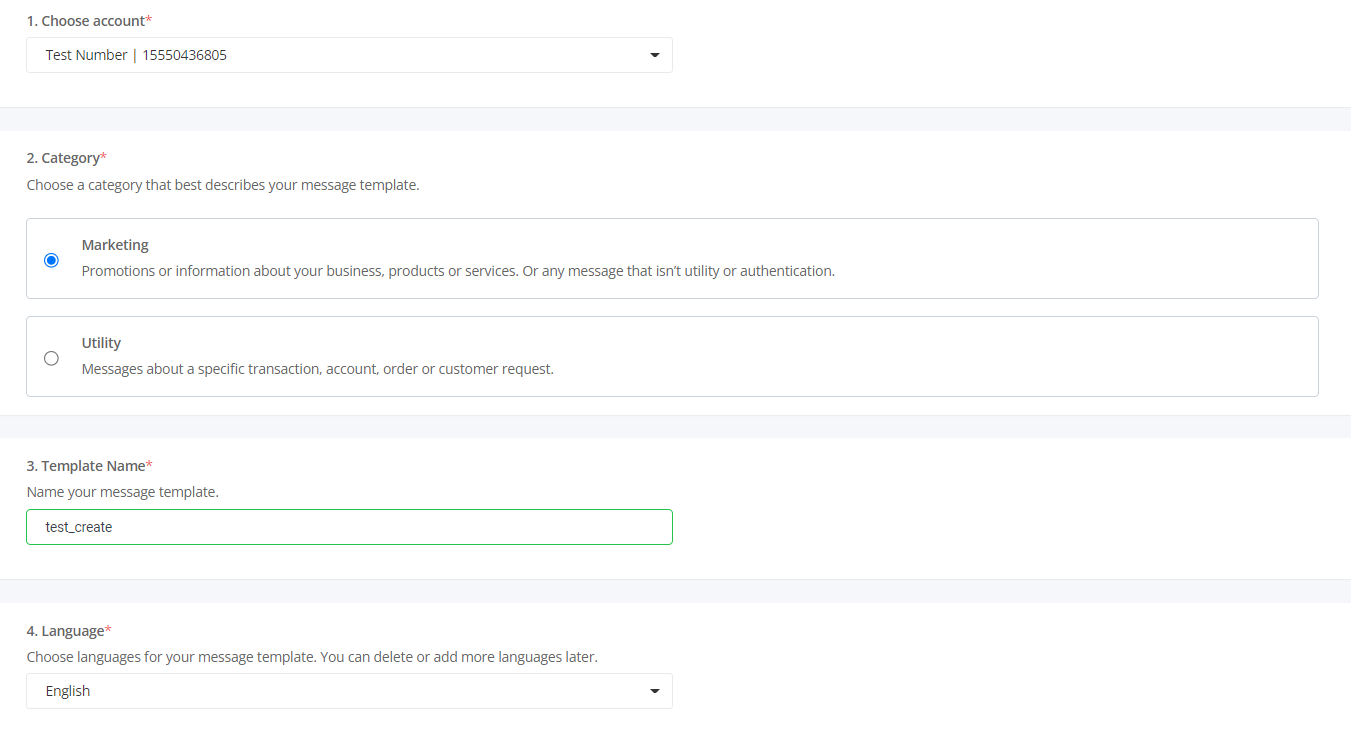
Choose account: Choose account to create Whatsapp
Category
Name: Input the name of your message template.
Language: select the template language that you want to create
Step 3: Click the Continue button.
Use parameters according to syntax: {{1}}, {{2}}, …
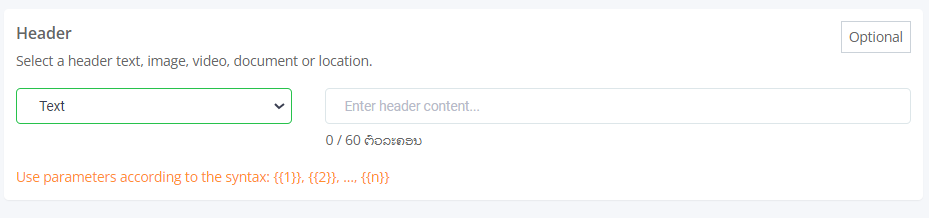
Header (Optional): Add a title or choose which type of media you’ll use for this header
Header only contains a maximum of a parameter and 60 characters
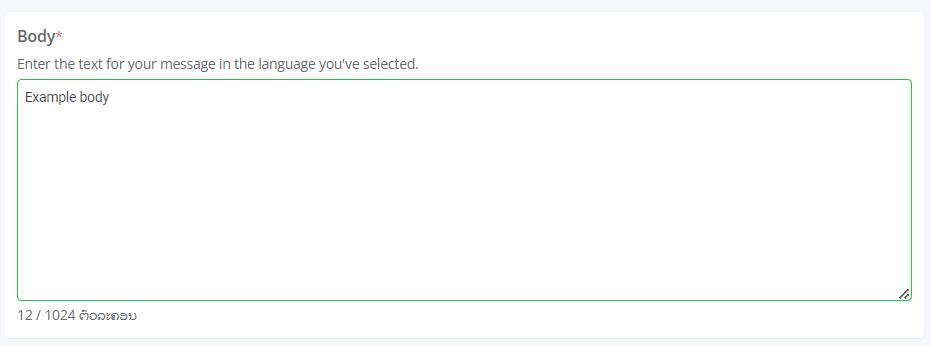
Body (Required): Input the text for your message in the language you’ve selected.
Body is compulsory in templates.
Footer (Optional): Add a short line of text to the bottom of your message template.
Footer only contains text, does not contain any parameters.

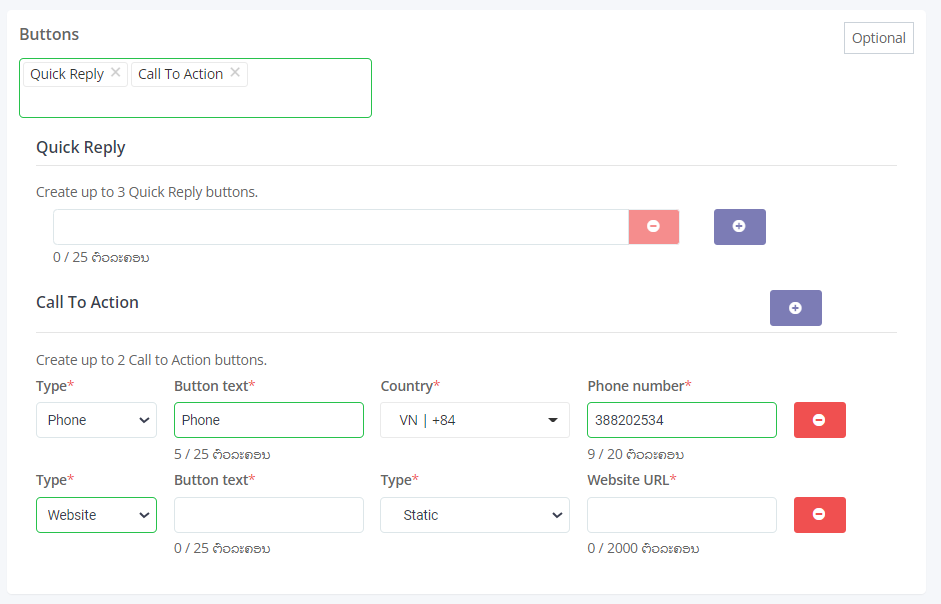
Button (Optional): You can add the “Quick Reply” type for customers to quickly respond or “Call To Action” to add call buttons or links to “Website”
Step 4: See the previous sample in the Preview column on the right
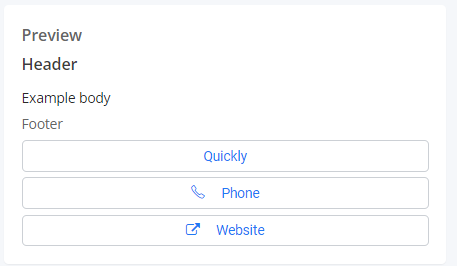
After completing the template creation information, click “Save” to create Whatsapp template.
The template has the statuses: PENDING, REJECTED, APPROVED
PENDING: is in consideration status and cannot be edited
REJECTED: the form was rejected because it was invalid, click “Edit” to edit and then click “Save”.
APPROVED: The sample has been approved and can be sent to customer
E, Send Template in AntCRM platform
User phone number must be in International format
Step 1: Go to “Lead/Contact/Account” and choose user who you want to send Whatsapp Template
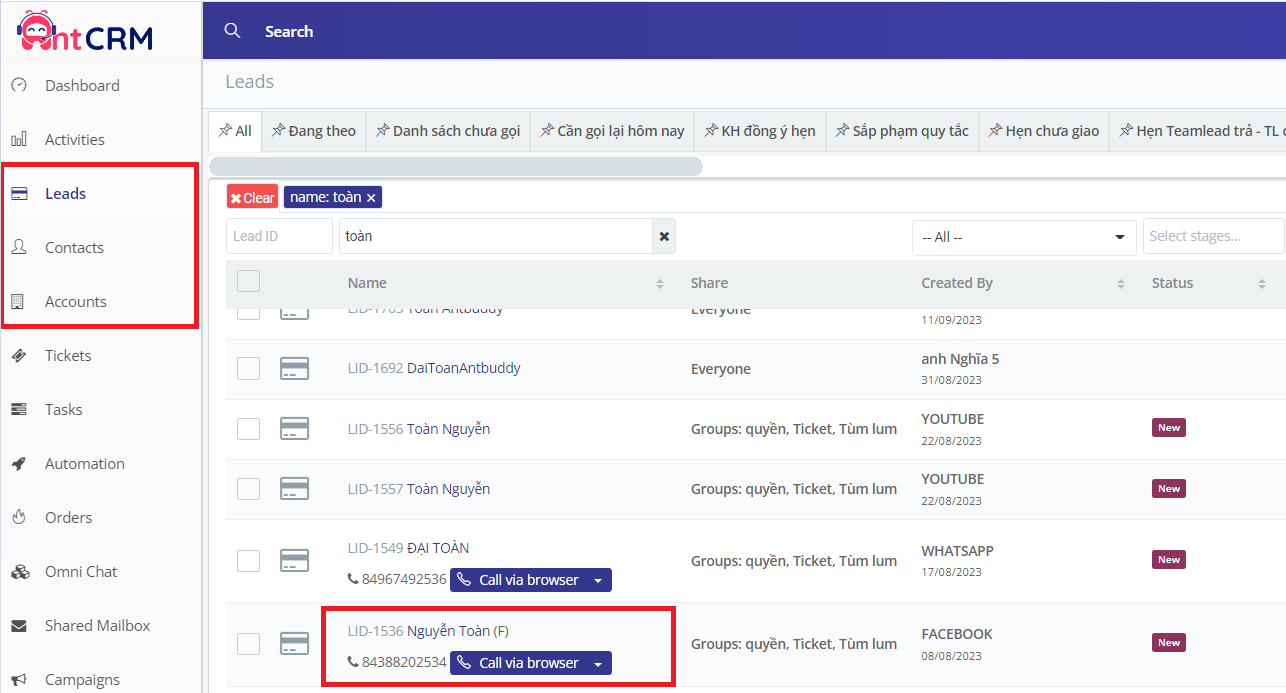
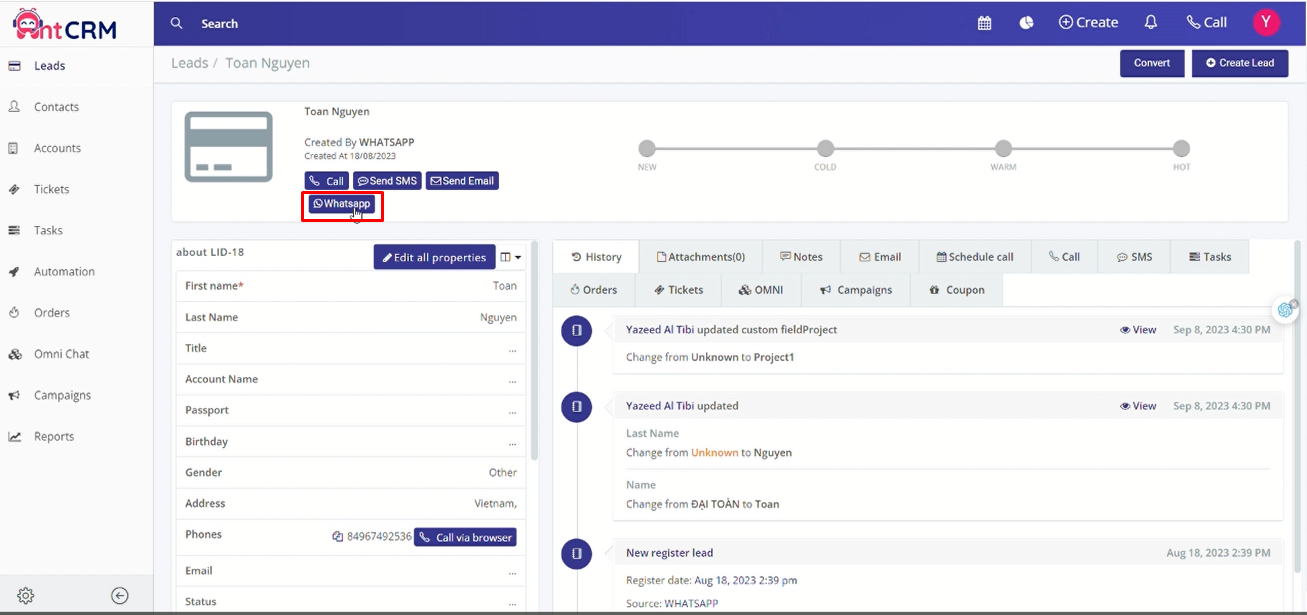
Step 2: Then select the Whatsapp button as screenshot below.
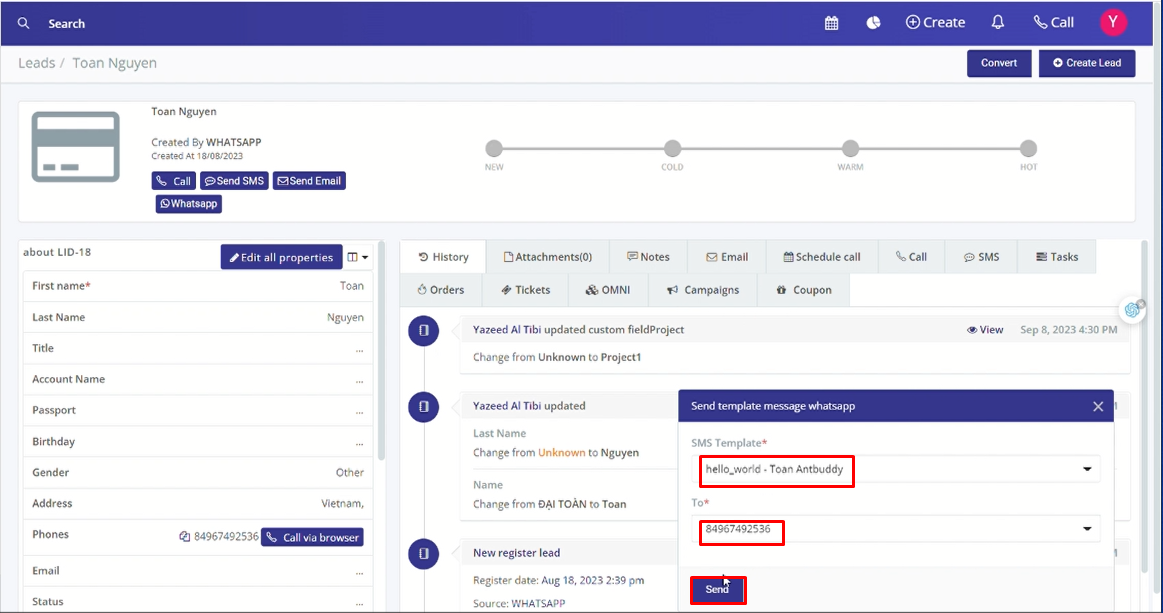
Step 3: Pop-up Whatsapp will display, select SMS and phone number then click send button.
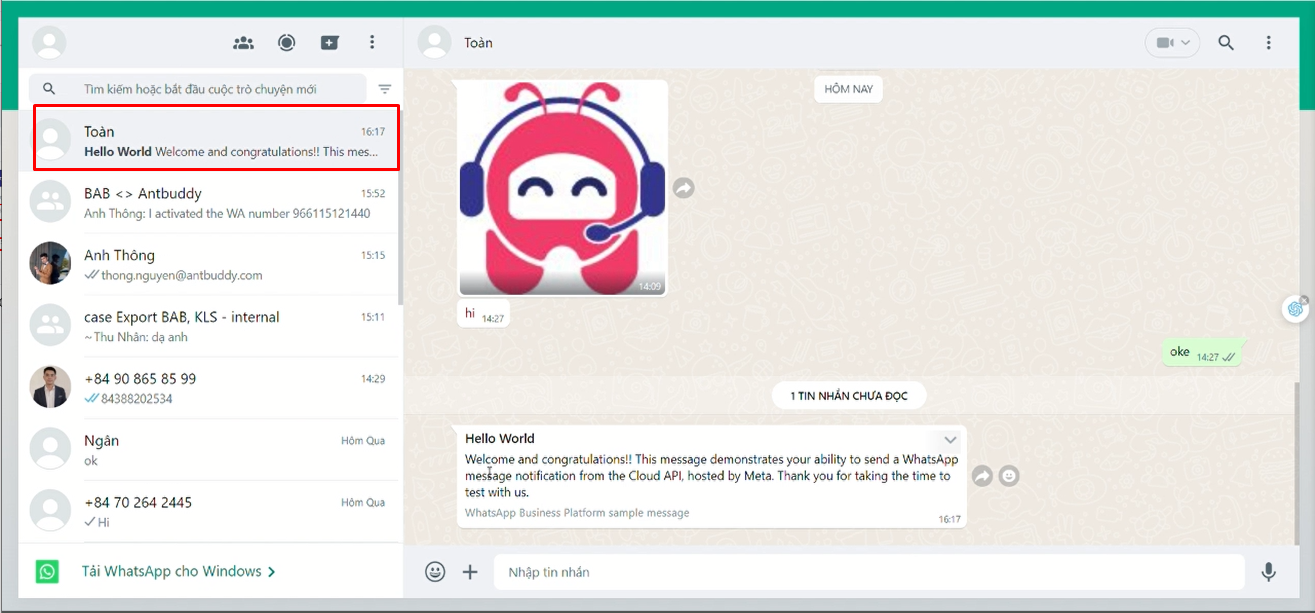
Step 4: The screen will display the notification of sending successfully.

After that, we wait a minute and then customer will receive a new message in their Whatsapp account.
F, Sending Whatsapp SMS campaign
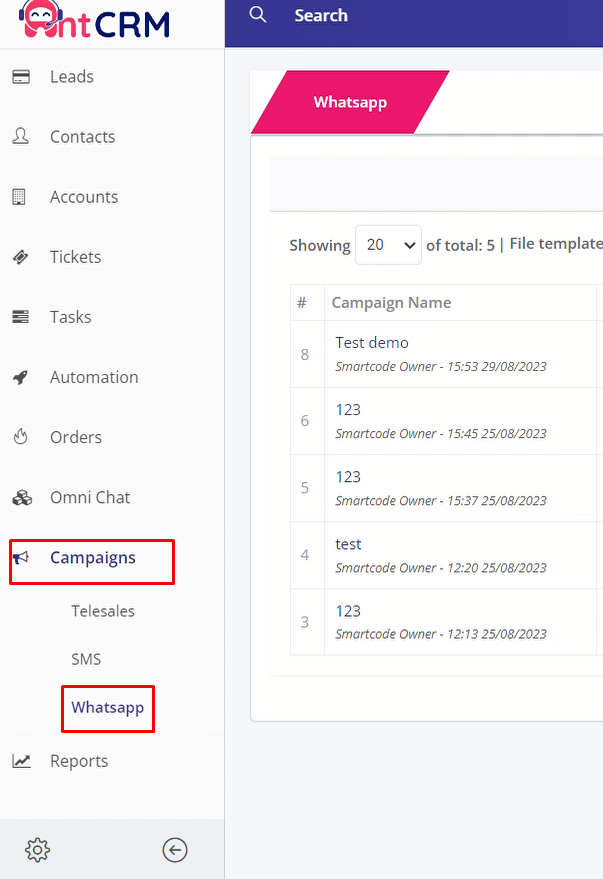
Step 1: At the AntCRM screen, select the campaign on the left side and then click Whatsapp.
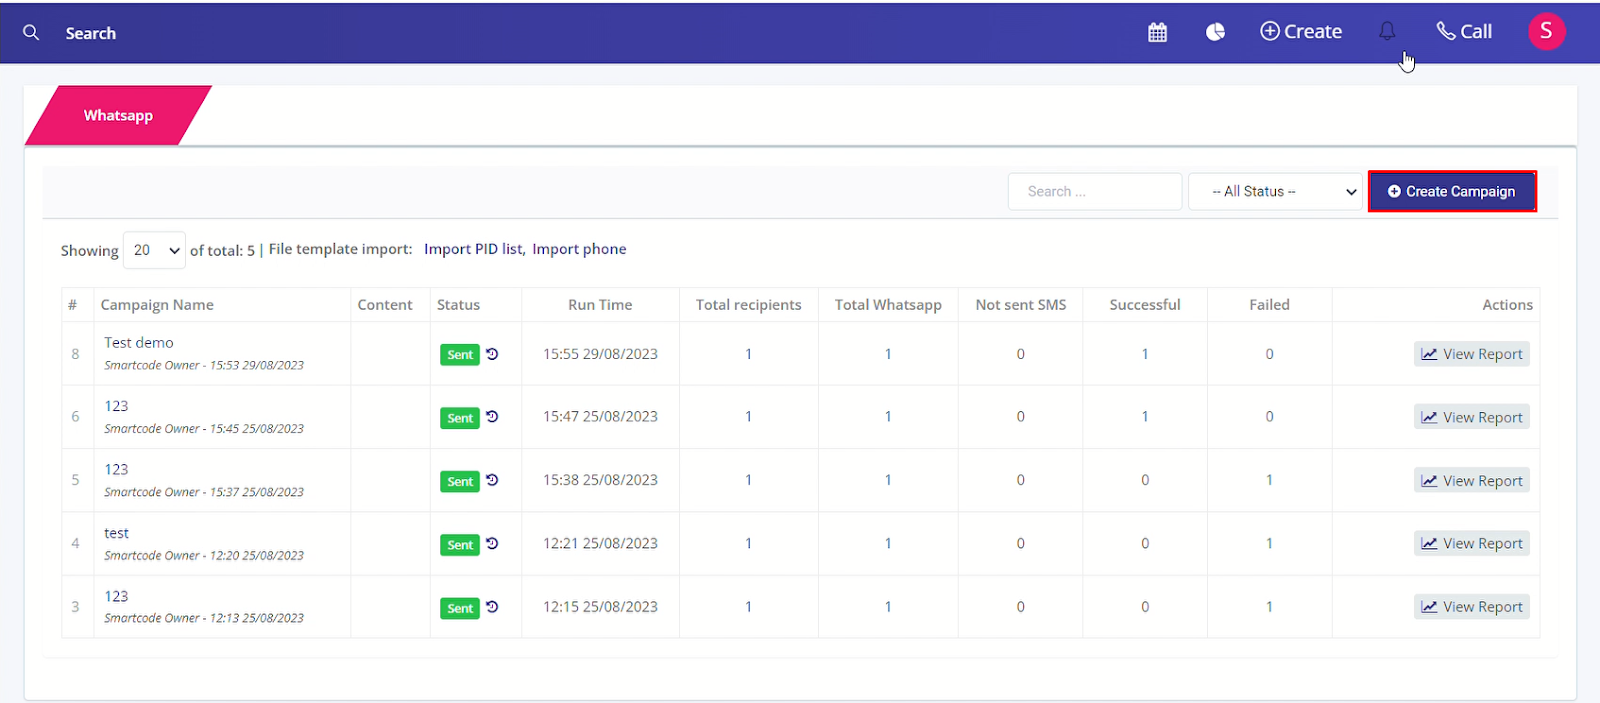
Step 2: Click the Create campaign button in the top-right corner.
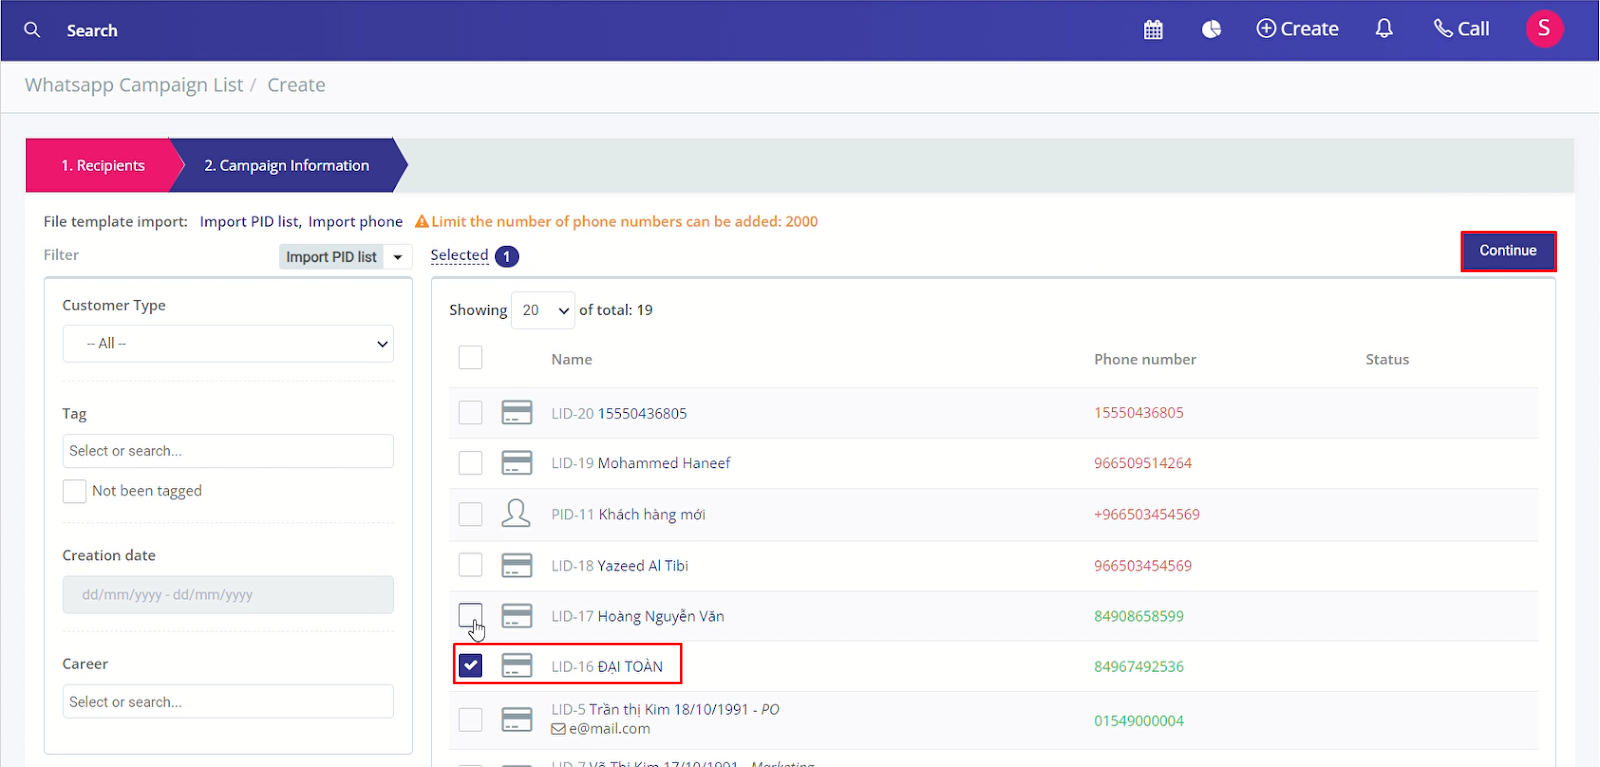
Step 3: Select Contact who will receive the message and then click the continue button.
Step 4: Input the necessary information, after that click the create campaign button below.
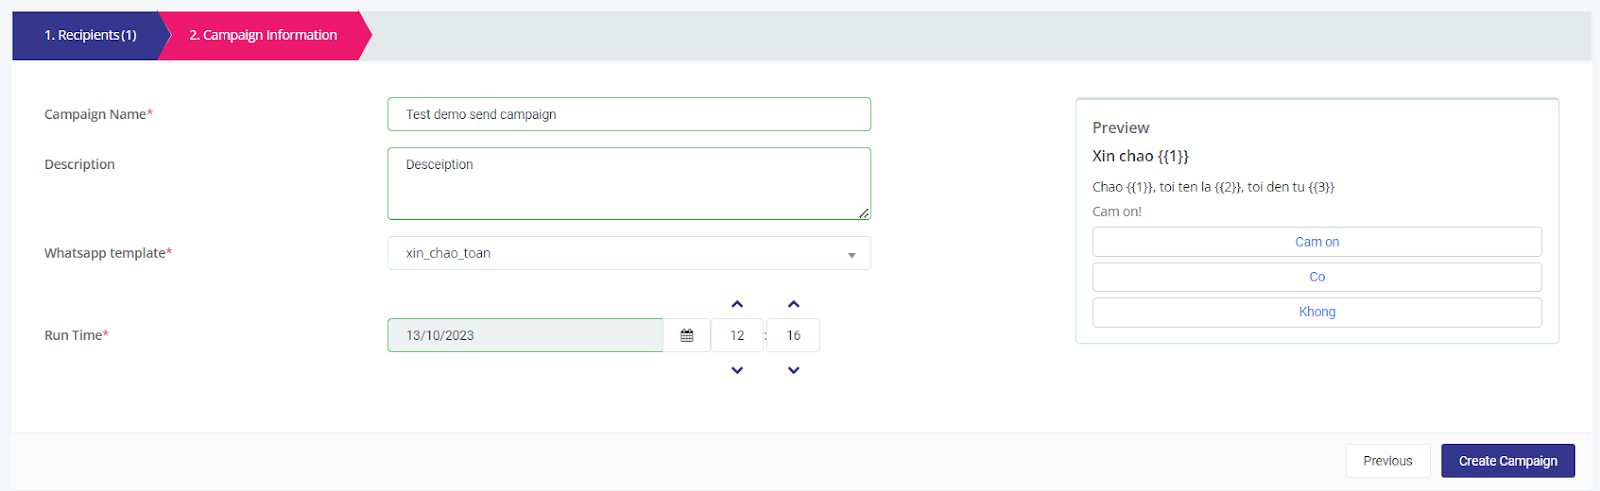
Notes: Entities have a star sign (*), which is the compulsory information to input.
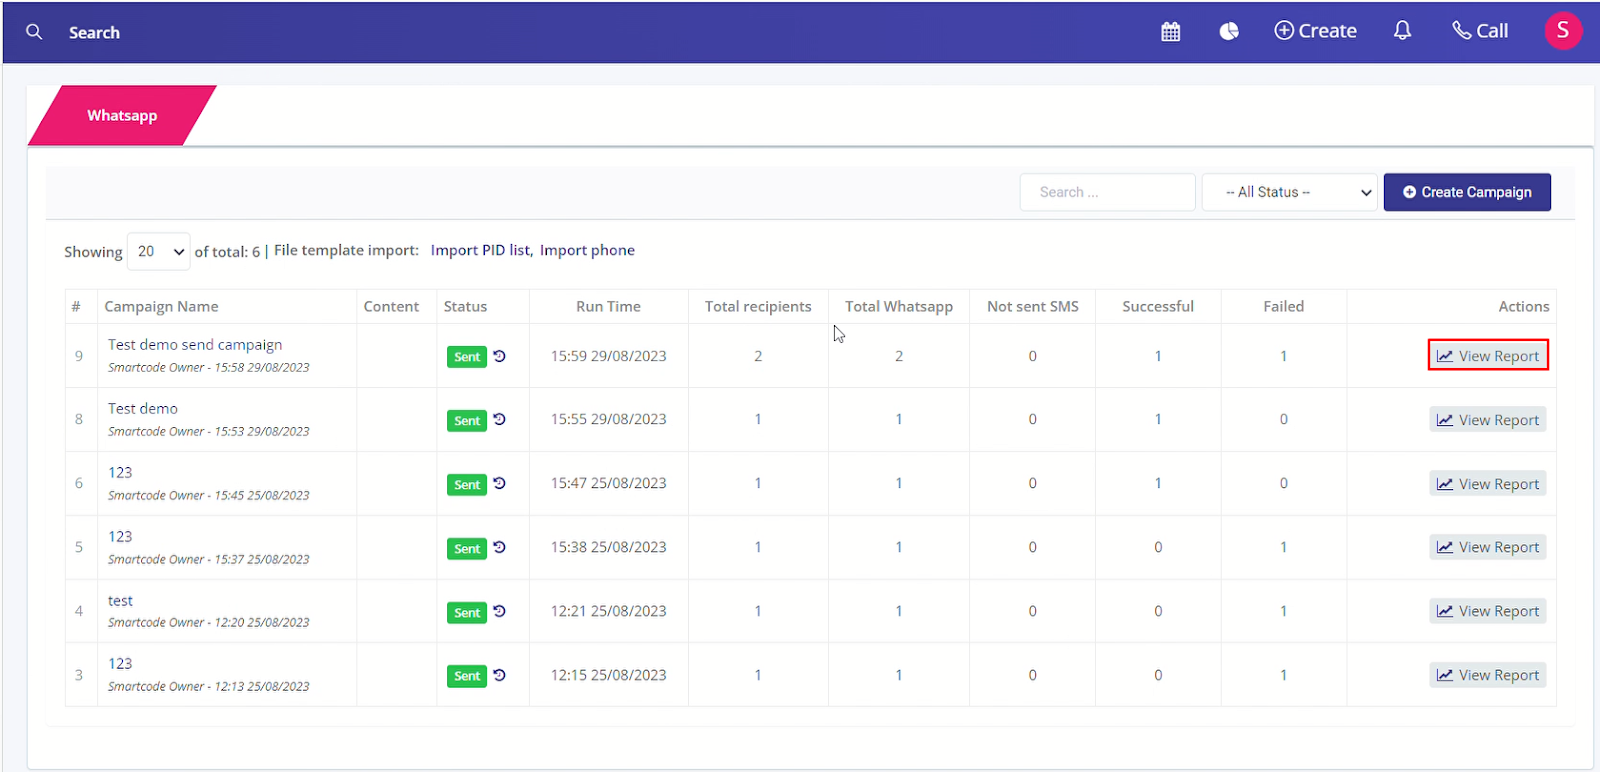
Step 5: After creating the successful campaign, click the approve button as shown in the screenshot below to run the campaign.

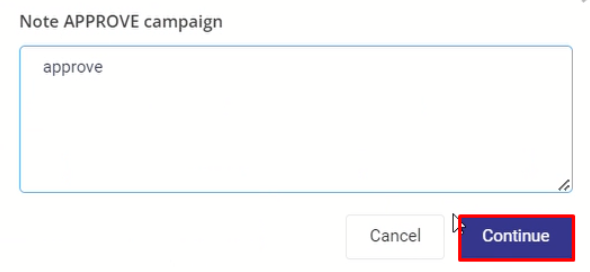
Step 6: Write notes to approve the campaign, then click the continue button.
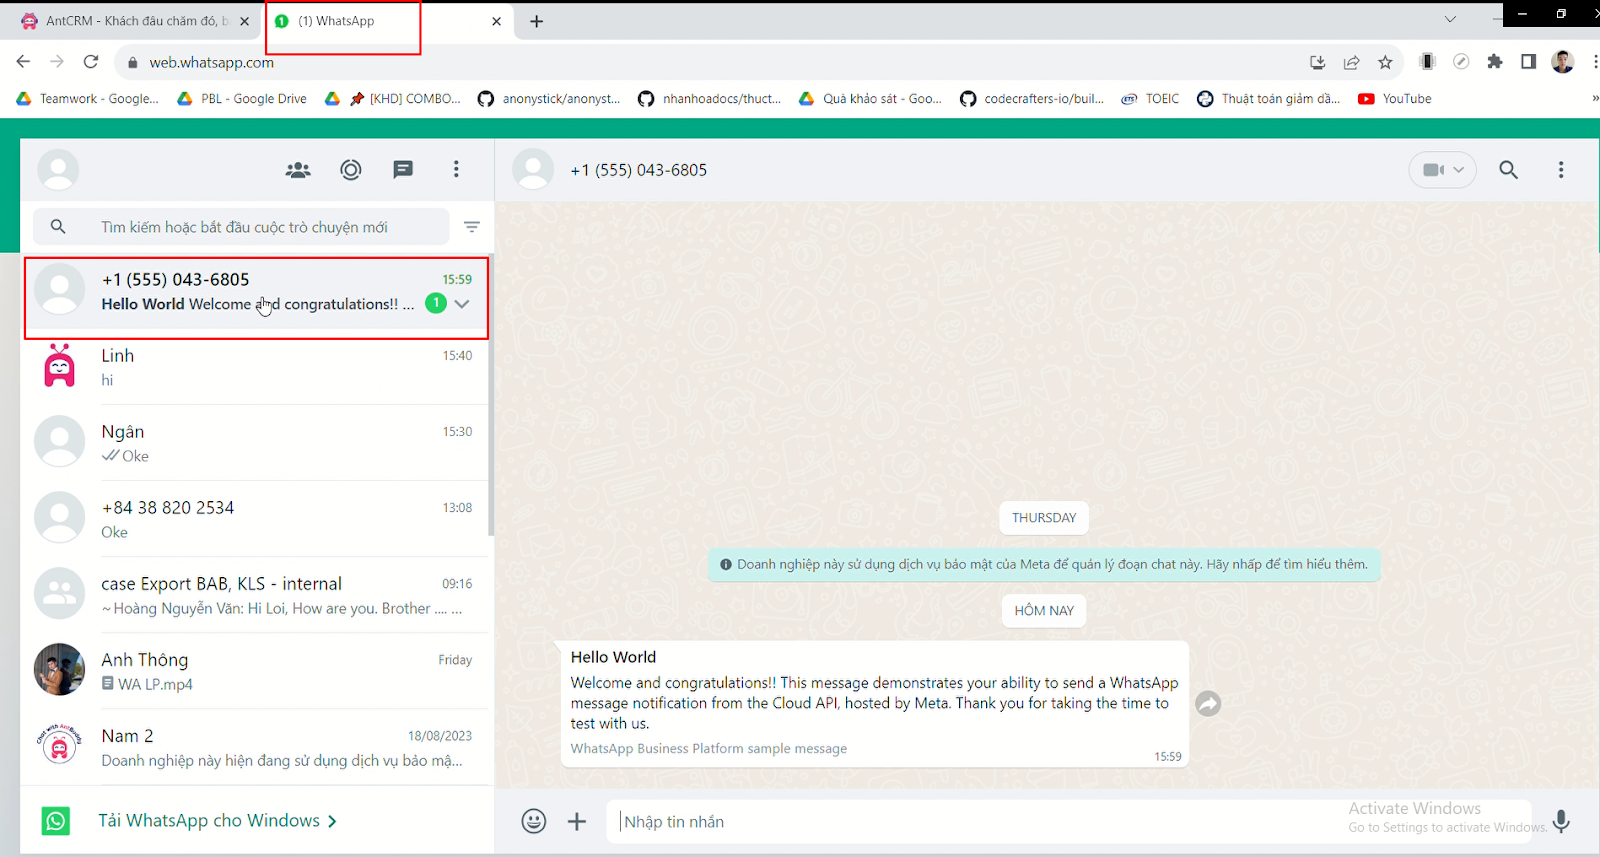
Step 7: After sending successfully, the screen of Whatsapp will display a new message announcement.
Step 8: Select View Report to view the statistics of the campaign.